
Hangbo Alloy Group
Shanghai · Est. 2012
Slitting turns wide nickel alloy coil into the narrow strip your stamping, spring or weld blank needs, but the slitting head also leaves burrs, camber and hidden edge cracks that wreck dies and reject parts. This guide shows how to measure slit-edge quality, write the edge condition into your purchase order, and catch a bad coil before it reaches your press.
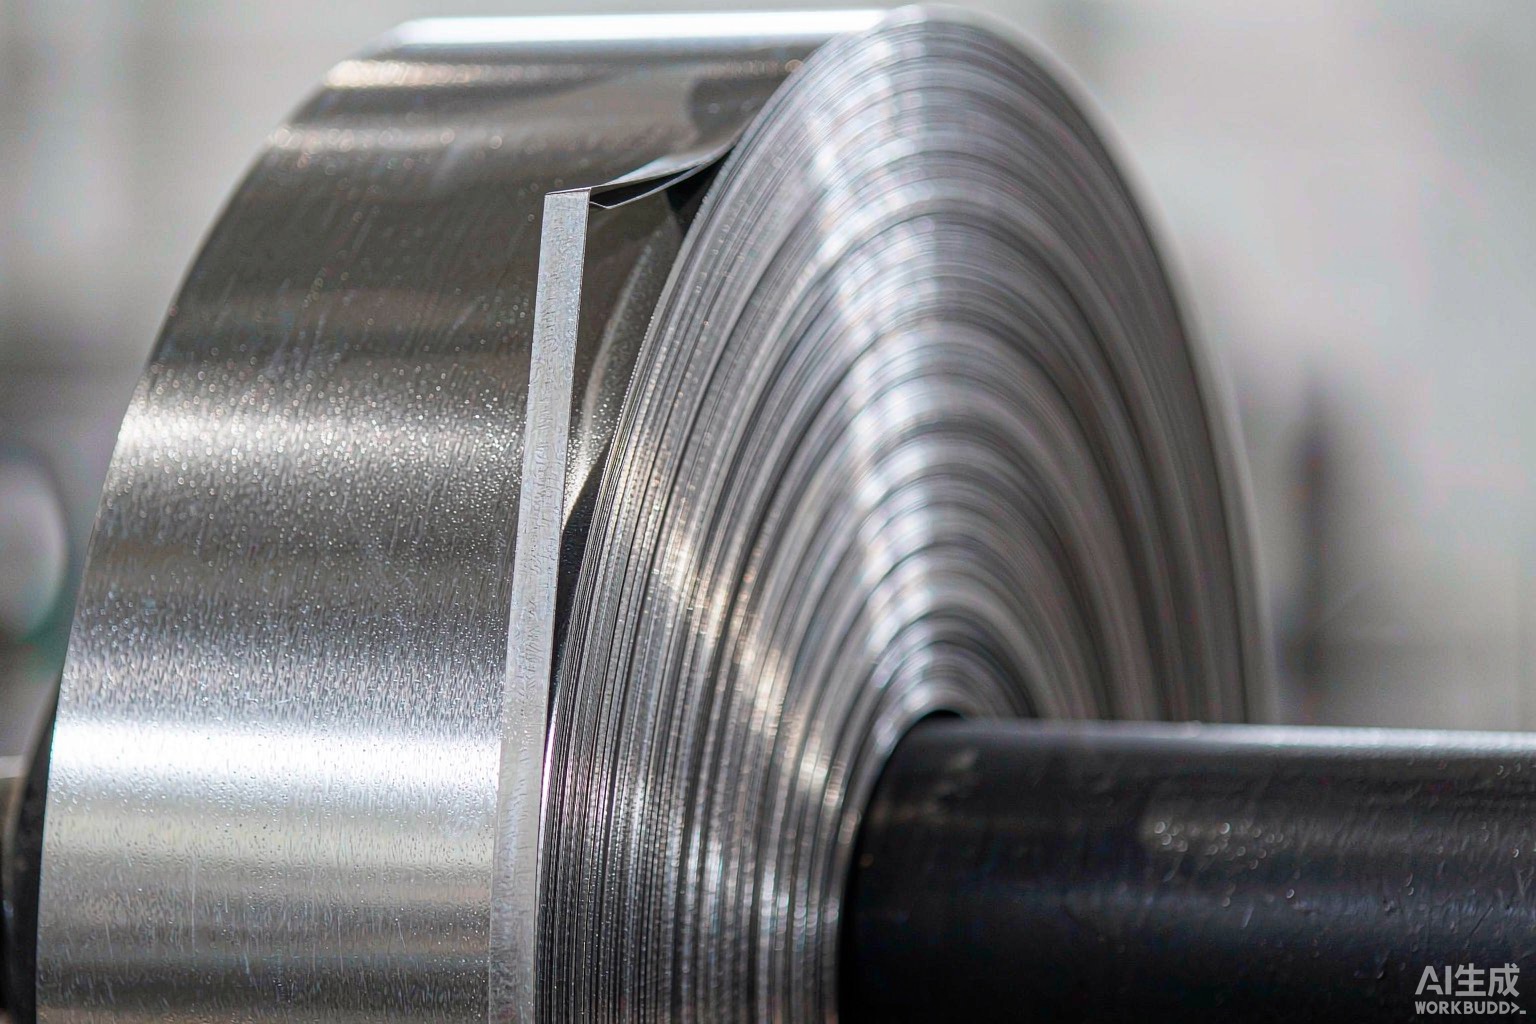
Short answer: slitting a wide nickel alloy coil into narrow strip shears the metal with circular knives, and that shear leaves a burr on at least one edge, a cambered (bowed) length, edge waves and, on brittle or hard grades, micro-cracks that run inward from the cut; you catch a bad coil with three cheap measurements — burr height, edge camber and an edge-crack dye or magnaflux check — and you prevent rejects by specifying the edge condition, camber limit and edge-inspection requirement in the purchase order. A strip that looks fine on the roll can destroy a progressive die in a few thousand hits, or crack along the edge during forming, and the cost is your tooling and your production line, not the supplier’s metal.
This guide walks through why slit edges fail, the five defect families that show up most often, the field measurements a receiving inspector can run without a lab, the edge-condition standards worth naming on the order, and the purchase-order language that turns a slit-edge reject into the seller’s problem. These defects sit inside the wider pattern we describe in our complete nickel alloy procurement pitfalls guide, but here we go deep on the single most common complaint we hear from stampers and spring makers: the edge.
We are a Shanghai nickel alloy producer, so the edge-control steps below are the ones our own slitting line enforces before a coil is shipped; we give them as practical receiving checks, not as a replacement for the certificate or the coil test report on the lot you actually receive. If a strip comes in with a heavy burr or a wavy edge, the first question is what edge condition was specified — and whether that was written down at all.
Short answer: the slitting head uses two opposing rotary knives to shear the strip, and the shear zone is never a clean cut — it leaves a plastically deformed burr, a work-hardened edge band, and a thin layer of tensile residual stress along the cut, so the weakest, most variable part of the strip is the very edge that meets your die or your bend radius.
Unlike a sheared plate or a sawn bar, slit strip carries its defect on the two long edges of every coil, continuously, for the full length. A burr is simply the metal that did not separate cleanly — it folds over or stands up on the exit side of the knife. The knife overlap, clearance and sharpness decide how big that burr is. Camber is the whole strip length bowing to one side; it comes from unequal knife pressure or a misaligned head, and it makes the strip track off-center through a press and ride up on one guide. Edge waves and coil set are shape defects from uneven rolling or winding tension. None of these are visible from across the room, which is exactly why they survive incoming inspection and surface at the die.
The brittle grades are the worst for edge cracking: a hard-rolled precipitation-strengthened strip or a high-strength spring alloy can micro-crack at the slit edge because the shear zone work-hardens and the tensile stress at the tip exceeds what the material can take. Those cracks then propagate during the first bend or draw. The topic overlaps with the corrosion and pitting basics in our pitting-resistance guide and with the joint integrity covered in our welding guide, because a rough or cracked edge ruins both a stamped part and a welded joint.
Short answer: the defects that actually reject strip are (1) burrs, (2) camber, (3) edge waves and coil set, (4) edge cracks and split edges, and (5) rolled-in edge debris — each has a distinct root cause, a visible symptom, a simple detection method, and a prevention step you can write into the order.
Most complaints trace to one of these five. A burr is easy to feel with a fingernail but easy to miss on a spec. Camber is obvious on a surface plate but invisible on the roll. Edge cracks are the dangerous silent one — they hide under the burr and only open during forming. Rolled-in debris (scale, grit, a torn edge fold) shows as a streak and causes die galling. The table below maps each to its root cause and the check that exposes it.
| Defect | Root cause | Symptom you see | How to detect | How to prevent |
|---|---|---|---|---|
| Burr (top / bottom) | Knife clearance, dull or mis-set knives | Rough or hooked edge, snags on gauge | Edge profilometer or 10× loupe + feeler | Specify edge no. and burr limit; sharp knives |
| Camber | Unequal knife pressure, head misalignment | Strip bows to one side, tracks off | Lay on surface plate, measure edge deviation | Specify camber mm per metre; align head |
| Edge wave / coil set | Uneven rolling, winding tension | Wavy edge, strip won’t lie flat | Flatten on plate, measure wave height | Specify flatness; tension-correct winding |
| Edge crack / split | Work-hardened shear band, brittle grade | Hairline at edge, opens on bend | Dye penetrant or magnaflux at edge | Stress-relieve before slitting; edge inspect |
| Rolled-in debris | Scale, grit, torn edge fold | Streak, die galling, surface tears | Visual + surface roughness check | Full descaling; clean slit zone |
The cheapest defence is to name the allowable magnitude of each on the order, because an unspecified edge is whatever the slitter happened to produce that day. Our notes on machining nickel alloys explain why a rough or stressed edge also accelerates tool wear once the strip is blanked.
Short answer: you do not need a metallurgy lab to grade a slit edge — measure burr height with a dental-type edge gauge or profilometer, measure camber by dropping the strip on a granite plate and reading the edge deviation with a ruler, and check for edge cracks with a solvent-based dye-penetrant or magnetic-particle test along both edges.
Burr height is the single most useful number. A good slit edge runs a burr in the low tens of micrometres; a poor one runs well over a tenth of a millimetre and will gall the die. The edge condition number (per ASTM A480/A480M, edge 1 through 5, from square sheared to fully rounded and deburred) tells you what geometry to expect. Camber is read over a stated length — say the deviation in millimetres over one metre — and the limit should match how tightly your tooling is guided. Edge cracks need a penetrant: brush, wipe, develop, and look for the line of dye that hugs the cut. The table summarises the kit and the acceptance you should record.
| Check | Tool | What you record | Typical good limit |
|---|---|---|---|
| Burr height | Edge gauge / profilometer | µm burr on top & bottom edge | Per edge-class spec, low tens of µm |
| Edge condition | 10× loupe, visual | ASTM A480 edge number | Deburred / rounded as ordered |
| Camber | Surface plate + ruler | mm deviation over 1 m | Within stated mm per metre |
| Edge crack | Dye penetrant / MPI | Presence along edge | None on either edge |
| Edge wave | Flat plate + feeler | Wave height mm | Within flatness class |
If you cannot run a penetrant, at minimum deburr a sample edge and bend it through 90° — a sound edge bends without opening a line, a cracked one shows the split immediately. For spring strip the edge matters most, which is why our nickel spring alloy notes treat edge condition as a release criterion, not a nicety.
Short answer: name the grade and UNS, the standard edge condition (for example ASTM A480 edge 3 deburred, or edge 5 rounded), a burr-height limit, a camber limit over a stated length, and an edge-inspection requirement — because without those four numbers the edge is unenforceable and the slitter optimises for throughput, not for your die.
Do not write “clean edges” or “deburred” alone; write the class and the limit. A useful clause states the strip shall be slit to ASTM A480 edge condition number X, with maximum burr height Y micrometres, maximum camber Z millimetres per metre, and both edges shall be dye-penetrant inspected (or magnafluenced where ferromagnetic) and found free of cracks. For tight-tolerance spring and electronic strip, add a flatness class so coil set cannot hide. The point is to make the supplier prove the edge rather than assert it. Where the strip is welded after blanking, pair the edge spec with the right joining practice from our welding precautions guide, because a cracked slit edge is where a weld crack starts.
| Requirement | What to write | Why it matters |
|---|---|---|
| Edge condition | ASTM A480 edge no. (e.g. 3 deburred) | Defines edge geometry bought |
| Burr limit | Max µm on each edge | Protects dies and tools |
| Camber limit | mm per metre over stated length | Keeps strip tracking in press |
| Edge inspection | Dye-pen / MPI, no cracks | Catches hidden edge cracks |
| Flatness class | Per applicable strip standard | Stops coil set and edge wave |
Brand names such as Inconel, Hastelloy and Monel are trademarks of their respective owners; the alloys are defined by their UNS numbers and the relevant ASTM or AMS specifications, and the edge condition should always be tied to that specification rather than to a trade name.
Short answer: four clauses move a slit-edge reject back to the seller — require the named edge condition and burr limit in writing, require edge-crack inspection on the coil test report, require camber and flatness within stated numbers, and warrant the edge fit for your stated blanking or forming process.
Without these, a supplier can honestly say the coil met “commercial slit edge” and blame your die for the galling. With them, the edge is warranted fit for purpose, and a strip that cracks on the first bend or that chews a die is a non-conformance you can reject. Keep the language measurable; a clause nobody can test is a clause nobody honours. This is the same enforceability logic we apply to substitution and traceability in the procurement pitfalls guide.
Run these checks before you release nickel alloy strip or coil to the press:
A burr is the sliver of metal left standing or folded over on the exit side of the slitting knife where the shear did not complete cleanly. It is harder than the parent strip because the shear zone work-hardens, so it acts like a tiny cutting tool running backwards into your die, galling the punch and eroding the cutting edge. A burr of more than a few tens of micrometres can shorten tool life from millions of hits to thousands, which is why a burr-height limit belongs on the order.
No. “Deburred” names an action but not a result, so it cannot be measured or rejected against. Write the ASTM A480 edge condition number and a maximum burr height in micrometres, and require the edge to be inspected. A supplier can deburr poorly and still claim the word; a number forces them to prove it.
It depends on how tightly your tooling guides the strip, but the only wrong answer is leaving it unspecified. A common tight specification is a few millimetres of deviation per metre or less for progressive-die work, and you should state the length over which it is measured. The key is to name the limit so a bowed coil that walks off the guide is rejectable rather than “as supplied.”
Yes, and this is the silent one. The shear zone work-hardens the edge and leaves tensile stress at the tip; on brittle or high-strength grades a micro-crack can sit just under the burr and only open during the first bend, draw or weld. A dye-penetrant or magnetic-particle test along both edges finds it before forming; skipping that check is how edge cracks reach the production floor.
For safety-critical or high-volume stamping, inspect every coil, because edge quality varies coil to coil with knife wear. For lower-risk work a documented per-batch or per-setup inspection backed by the slitter’s knife-change record is acceptable, provided the order says so. Never accept “inspected” with no record — require the edge-crack result on the coil certificate.
It matters more, because a cracked or contaminated slit edge is exactly where a weld crack starts, and a heavy burr traps oxide and shielding-gas porosity at the joint. Clean, crack-free, deburred edges weld far more reliably, which is why we tie the edge spec to the joining practice in our welding precautions guide.
Because slitting is a knife-and-setup operation, not a property of the alloy. Knife sharpness, clearance, overlap, head alignment and winding tension decide the edge, and those drift as a knife wears or a setup changes. That is why the edge condition and inspection must be specified and recorded per coil rather than assumed from the grade, and why alloy selection alone will not save a badly slit coil.
If you have taken delivery of coil or strip with heavy burrs, camber or edge cracks, or you want strip that runs clean through your dies, send the specification to us. At our Shanghai works the strip route is built around edge quality from the first pass: we start from a fully prime virgin melt taken through VIM and then remelted by ESR or VAR, the hot band is descaled right down to clean metal before cold rolling, then precision slitting, edge conditioning and deburring are run to controlled camber and edge-class limits, and every coil is signed off by full chemical analysis by spectrometry and wet methods, mechanical testing, and dimensional and surface inspection before it leaves the plant. Tell us the grade and UNS, the width and thickness tolerances, the edge condition you need, and your blanking or forming process, and we will quote strip slit to your edge class with the burr, camber and edge-crack results recorded on the coil certificate. Typical response is about ten minutes, and we ship worldwide from Shanghai.
Email: serena@hangboalloy.com
Phone: +86 166 2109 2936
WhatsApp: +86 166 2109 2936
Send us the grade and UNS, the width and thickness, the edge condition you need, and your blanking or forming process. We will quote strip slit to your edge class with the burr height, camber and edge-crack inspection recorded on the coil certificate, and confirm the camber and flatness limits to write into your next purchase order.